Thursday, February 28, 2013

More Easter and St. Patrick's Day

Good evening all.  As I promised I am back with two more cards to share.  I made another Easter card and a St.Patrick's day card for my step Dad.  The first card is similar to the other Easter Card but it's just A4 die cut with the grand nestabilities oval and embossed.  Added some orange and green flowers and spellbinder Leaf die cuts.  Used a Fancy Tag die and of course added more bling rhinestone swirls  The Shamrocks card is very basic, just patterned shamrock paper cut slightly smaller than the card base. Added small panel of dark green paper with 2 - 3dimensional shamrocks and a bit of green twine.  Like I said very basic, but suits my needs.  Now here are the cards:


Well that's all I have for you tonight.  But do check back tomorrow morning for another Card for the Challenge that's starting at the Stamping Shack where I am a DT member. 

Until next time,
  Sweet dreams

Easter Cards

Hello there crafty peeps.  I am just popping right quick to share 2 cards I made today.  Both are Easter cards and 1 was for a challenge and one is for a swap.  Here they are:

Card Camp Challenge #5 
use 3 die cuts and a Embossing  Folder

I used Spellbinder Grand Nestabilities Ovals, Leaf Dies, and Fancy Tag die.
The EF is from Spellbinders M-bossibilities and is called "Regal".
Flowers are from Prima Flowers and and Yellow flat back Bling is from Hobby Lobby their brand.

NEXT UP

Secret Sweetie Easter Swap
The bunny is called "Bart Bunny" and was a freebie from Robyn's Fetish Store.  She has some cute stuff. Die cut frame is spellbinders "replendent rectangles".
The eggs and tiny flowers are stickers I had for ages, the felt flowers are from Hobby Lobby their brand. 
All paper is from Color box. Made simple step card and decorated it up. Very colorful and springy!

Well it's getting late here and time to put myself in bed.  Will be back tomorrow with few more cards from the table that aren't quiet done yet but will be tomorrow sometime.  Thanks again for stopping by.

Have a wonderful night.

Until next time,
 don't let the bedbugs bite...................

Wednesday, February 27, 2013

Facebook Stamp of the Week - Stamping Shack

Good Morning all.  Today I wanted to share a card I made for the Stamping Shacks Face book Image of the week.  This digi image is called Japanese Dolly in the Orange Bird Studio Range and can be purchased from The Stamping Shack store.  She is really adorable, don't you agree.  Here is the card I created with her.  I used Watercolor pencils and OMS to color her. Used spellbinder die, Resplendent  Rectangles, clear stamp phrase, and lots of bling and lace, & flowers from Recollections.  Hope you like it and be sure to visit the Stamping Shack's face book page for more inspiration from some of my other Design Team mates and the to see the Digi specialAnd now for my card:


Thanks for stopping by and visiting me today. Hope you enjoy what you see and do leave some comment love, I read them all and I do reciprocate.  And maybe even you'll decide to follow me, I'd really like that too! (blushing).

Until next time
Tootles 

Tuesday, February 26, 2013

Another Follower :)

Hello everyone, just popping in to send a big shout to my new follower and say Thanks for stopping by and following my blog.  Hope you find it fun and come by often.  And don't forget I love getting all your comment Love. 

Well gotta run but do stop by tomorrow for another fun card and maybe even more than one if I can find the time to finish up some others.  Have a fabulous day.

Until Next Time
 Tootles

Monday, February 25, 2013

Cowgirl Card

Evening Peeps.  First I must give a big warm welcome to 3 new followers. Hope you will visit often and get some inspiration while visiting me. Thanks you for following and I will reciprocate and follow you too. :)

Now I wanted to share this card I made with one of Sherri Baldy's Besties images.  I have a friend who is all about country and wears her cowboy hat all the time and her birthday is this week so I had to color this little beauty up.  I am also entering her in some challenges too, why not right!  I colored the digi with Copics and used some patterned paper I've had around so long I had forgot I even had it. I printed the phrase and  the border and cut out. Added some pink and silver brads to the opposite corners.  Found some twine and decided to add a Lasso. It still needed some pop so I made up a paper flower and added a brad in the middle to match. Then of course I thought it needed some bling so out came my big bag of bling.  I put bling rhinestones at the bottom left corner and on her belt buckle and also on her spur.  OK I think it's done now.  And I just know my Friend Kim will be pleasantly surprised with her card. 

I have really fallen for these images by Sherri Baldy.  They are just awesome to color up!  Hope you enjoyed stopping by and do come back , ya hear.  Sorry got caught up in the moment....LOL!

Have a wonderful evening all!  Here are the challenges I am entering this card in:
Bestie Challenge #7 - use a Bestie digi and 2 patterned papers

Card Camp (Yahoo Group) - use something you have not used in 1 year from your stash (my papers)

Created with Love - Bright & Cheery

613 Avenue Create - Anything goes

Daisy Doodle Challenges - Anything Goes

Creative Card Crew - #30 Birthday

Celebrate the Occasion - Girl's Birthday

Digital Tuesday Challenge - Birthdays & use a Digi

Party Time Tuesday - Anything Goes 

Join us for a Red, White and Pink Challenge

Morning crafty Peeps...... Just wanted to remind everyone that The Stamping Shack Blog Challenge is still going on for 3 more days and we would love to have you join in the fun. Here's the info:

Theme: Red, White and Pink, and the rules are:
 
1.  Anyone can enter as long as you are a follower of our blog.
 
2.  You can enter up to 3 times per challenge.
 
3.  You must have fun!   

And that is as hard as it get!
 
The challenge will run from 8am GMT on 15th February until 8am GMT on 28th February.
 
The winners will be announced on the blog at 8pm GMT on 28th February.
There will be 3 winners - The first will win 5 images of their choice from our website.  The first second will receive 3 images of their choice and third will receive 1 image of their choice.  You will also win a badge for your blog. If you use our images and come 1st, 2nd or 3rd you will win another 3 images of your choice.
 
There is some gorgeous inspiration from our Design Team to that you should  check out.

Please come join in the Fun....

Until next time,

Crafty Hugs 

Sunday, February 24, 2013

My Stamping Shack Blog Project

SCORED LATTICE CARD

Hello Everyone.  I'm here with another fun DT project for Stamping Shack Blog.  Today I am showing you how to create a Scored Lattice Card.  So let's get going with it.

Here are the supplies you should have on hand:

Scor-Pal® OR Crafters Companion
Card stock
Printed Digi Stamp Image
Markers or Color Pencils
Die cut machine and die of your choice
Adhesive of your choice
Embellishments of your choosing

1. Get your card stock choice for card out and set aside.
2. Measure and cut base mat card stock, of your choice.
 
3. Now using your  Scor-Pal®, lay paper good side down on board, score the base mat piece at the 1/2 " mark, do this to all four sides. You now have a border all the way around.  We will create the lattice look inside this border.


4.  OK, now align opposite corner points on the Scor-Pal® or Crafters Companion and score lines up and down at 1/2" intervals, staying with in the square border.  Flip the card stock to opposite corner points and do the same thin.  This will give you the lattice look.


5. Flip paper over to see your lattice look background piece.  Now we need to attach the background lattice piece to your card base. Use your favorite adhesive and attach. 


6. Print out and color your digi image on cardstock.  I used a new up and coming image from The Stamping Shack Store found in the Orange Bird Studio Range.  I colored my image with color pencils and used a corner rounder punch on all for corners of my image.


7. Now just put your card together with all your fun embellishments.  So here's how my "Lattice Card" came out.


That's it for today folks. Have a beautiful Sunday!  It's gorgeous here today, thinking I'll get MIL out for a nice walk in the sun.

Until Next Time,
 Cool Carding

Thursday, February 21, 2013

What are you working on?

Afternoon everyone.  Well wanted to have something ready by today to show, but as life has been keeping away from my crafty spot.  So I thought I'd share what's on my craft space today.  It's a bit messy because I have several projects going at one time all the time......So here's whats on my craft counter today, LOL!  Look closely and you'll see the card I rec'd today from a sweet online friend, Linda K.  It's a Bestie Image by Sherri Baldy, a cute little mermaid in teal.  Thanks Linda, I Love It.


OK. So any ideas what I'm working on?  There's several projects happening in there.  I usually lay stuff out all over my area and walk by it trying different thing until I get something I am happy with then put it all together.  Well really just didn't want to be gone from here to long. Have a fun rest of your day and show me what's on your crafty counters..... :)

Until Next time,
Crafty Hugs

Saturday, February 16, 2013

Everyone loves a Sale! All Digi's .99 cents, woohoo...

Hello all my crafty bloggers.  I have a fun announcement. The Stamping Shack Digi Store, where I am a DT, is having a FLASH SALE, it started thursday and runs thru Sunday the 17th of February.  And the best part is "ALL digi's" are 99 cents, how awesome is that.  So now's your chance to go get some fun and quirky digi images at a wonderful price.  Don't miss out......go there now, lol. :)

And one last thing our new Challenge is going on over at the Blog.  Theme this 2 weeks is Red, White and Pink.  So come over and join us in another fun challenge and maybe you'll be a lucky winner!

Have a fabulous weekend...

Until next time
Keep Calm and Craft On


Friday, February 15, 2013

It's Friday....

Hi peeps, how are all of you today?  I am just peachy!  Having a nice day today even if it is cool outside.  I finished 2 cards this morning and need to finish up one more but I could not wait to share this one with you all.  It's done with the bathub girl Bestie digi image I colored and showed you yesterday.  I am very happy with it and ready to show you the final product.  Here it is:

Isn't she just CUTE!  I know I've said I like these images, but really they are such fun to work with.  This one was made especially for Challenge #5 over on the Bestie's Blog.  And will be a RAK Card for someone soon.  I used colored pencils and OMS as I usually do. Die cut with Spellbinder's Floral Oval.  The paper is from a 6 x 6 pad that the cover was gone on, sorry! The flowers are from Prima Flowers and Flora Doodles both from Archivers.  I used eyeshadow again to color the die cut edging a lite pastel pink.  And stamped the word SMILE in pink also with Studio G ink. Used a Friskars punch to make the bubble look on the pink paper before attaching to card base.  I am really pleased with the outcome.  It just makes me smile...... (blushing).   So any way here are the challenges I am entering this card in:

Bestie Challenge Blog -  #5  Use a Bestie and add Pink

QKR Stampede Challenge - Anything Goes

Simply Create Too - For a Female

Paper Playtime - Challenge 3 Border Punches

Scrapbook Stamp Society Blog Challenge - Anything Goes

That's it for now.  Have a great Friday everyone.

Until next time,
Tootles

It's time for another challenge

Hi all wanted to tell you it's time for our 2nd challenge for this month over at the Stamping Shack Blog where I am a DT.  The Challenge is called "Red, White & Pink".  I hope you join in the fun, so you have a chance at winning some very cute & quirky digital images from the Stamping Shack Store.   Here is my DT card for this challenge.

I used an image called "Tea for Two" from the stamping shack store found here in the Lilliputs Catergory.  I printed the image out and colored with colored pencils and oms.  Attached to card front and added all the embellishments.  This one went to my sweet little sister, Brigitte, for Valentine's day.   

Well that is all for now.  Hope you'll come play in the Challenge! 

Until next time,
Happy Crafting

Entering this card into the following Challenges: 

Thursday, February 14, 2013

Happy Valetine's Day!

Hi all.    HAPPY VALENTINES DAY TO EVERYONE.  :)
 
Well as you can see I did not make it back on here last night.  But  I did make a card and colored some digi images yesterday, though.  I used my color pencils, OMS, and eyeshadow to color with.  Yeap, you read that right, I used eye shadow that I purchased at the dollar store.  It works just like chalk, just less expensive on the wallet.  The digi images are from "Besties", and were free downloads.  I am loving these images so much!  Here are the images and then one card, I'm still working on the other image.

Images I Colored and die cut with Spellbinders Floral Ovals.


And now here's the card I did with the first image above.  It went to a sweet friend, debra who had a birthday yesterday.  I ran it over to her last night and  she was so happy to have rec'd something handmade.  Said it meant so much to her that I went to the trouble of making it for her.  It was no trouble because this is my passion and it keeps me sane, LOL ;).   So here's the card.
The tag die for the sentiment is from Spellbinders too,  it's called "Resplendent Rectangles".  I really am happy with this card.  Let me know what you think?  Does anyone else love these adorable little images from "Sherri Baldy" called "Besties"?  I do believe I am in need of more of them......hehehe :)

So that is all I have right now.  Working on some DT creations for The Stamping Shack, and will show you all once done.  Think I will go and see what I can do with the lil' girl in the tub digi, before I have to start thinking about dinner for the family. 

Hope you have a wonderful Valentine's day with your special person, however you chose to spend it.   Me, I'm happy to watch a movie and snuggle (and probably do some knitting ;).......

Entering this card into the following Challenges:

Paper Take Weekly - Hearts and Flowers (or either one)
Eclectic Ellapu - Anything Girly
Challenges 4 everybody - Anything Goes
Created with Love Challenges - Birthday and Embossing

Until Next Time,
Luv you all


Wednesday, February 13, 2013

Happy Crafty Wednesday

Morning crafty blogging friends.  I really am here this morning to welcome 3 more followers.  "Big Hugs & a warm Welcome" to you and all my lovely blogging friends.  So happy to have you with us.  Hope you stop by often and don't forget to leave me some love.  I really do read all your special comments and they brighten my day.  I do my best to get over to your blogs too and follow.  Thanks again for being a follower of my little piece of crafty cyber space.  :) 

Have some errands to go run but am planning on adding some more creations hopefully later today if all goes as planned. But you can never tell when you care for senior with Alzhiemers.  Hope to be back later today.

Have a wonderful craft filled Wednesday!  And don't forget if you have not stopped by the Stamping Shack blog lately you should and join in our challenge "Love is in the Air" only 2 days left to play along and maybe win some fun digi's. 

Until next time,
Hugs from The Cardphile Lady

Sunday, February 10, 2013

What is a Digi or Digital Image?

Hello everyone.  I was trying to decide what to do for today's blog post over on the Stamping Shack Blog and it hit me, Digi's.  A lot people, who do not craft, ask me how I come up with the images on my cards and other crafts when they receive them or see them.  They think I drew them and when I tell them it's a digital image or digi they are stumped.  So today I will do my best to explain what a digi stamp or digital stamp is.


What are Digital Stamps?
 Digital stamps are becoming increasingly popular. They present us the stamper or card maker with a whole new way of crafting. Digital stamps, or digi stamps, are black and white digital images that are purchased form an online stamp store and downloaded onto a computer where they can be manipulated before printing out.  When they are printed out digital stamps are pretty much just like traditional rubber, clear or cling stamped images. One of their attributes, however, are that the images can be re-sized, flipped (makes a mirror image) or manipulated in other ways prior to printing it out and colored in the same way that a rubber stamped image is colored. This gives us as crafter's new design opportunities. The difference between digital stamps and traditional rubber stamps is that there is no physical stamp for you handle. A digital stamp is just an image.


How do I use Digital Stamps or Digi Stamps?

Once you have printed out the digi stamp image, it is then used in much the same way as a traditional rubber stamp. This means that the image can be colored and embellished. The finished image can be cut out and made into handmade cards, gift tags, scrapbook pages, altered art and a whole wide variety of other paper craft projects and more. One issue about digital stamps or digi stamps, is that it will generally need to be cut from the paper or card stock that it has been printed on before it can be used. Experienced digital artists, however, are able to produce wonderful works of art completely on the computer, but not me, I prefer to cut out and piece things together…..


Coloring Digital Stamped Images

Once your digital stamps or digi stamps have been printed out, they then can be colored in the same way as traditional rubber stamped images. One limitation is that the images will be printed using normal printer ink and not rubber stamping ink. So there may be issues with the ink running if a wet coloring method is used. It is possible to heat set printer ink using a heat tool to reduce the likelihood of this happening. Pens, colored pencils, different types of markers and paints are all suitable for coloring printed digi stamps.


Special Effects

Because digital stamps are printed from a computer and printer and not stamped with rubber stamping inks, some effects that are reached by using these inks can be difficult to achieve. Techniques such as heat embossing or other techniques that require materials to be applied to the ink are difficult to do. This doesn’t mean that it’s impossible, however, as the outline of the image can be traced using a slow drying embossing pen and the image finished as normal, with embossing powder and heated as usual.


Limitations of Digital Stamps

In addition to the limitations already identified, the other main limitation of digital stamps is that they are only suitable for projects where printed images can be used. This means that using digital stamp images on surfaces that cannot be run through a printer is difficult. So it will be difficult to use digital stamps on fabric, very thick or very thin paper and some types of card stock, large pieces of paper, pre-formed boxes and many other items. But again, this doesn’t mean that it is impossible and work arounds can usually be found. This is likely to involve some compromises on the part of us, the crafter. 

So now that you know what a Digi is, you should take a break and go visit our store, The Stamping Shack, and see all of the cute and quirky digi images that are available for you to purchase at extremely reasonable prices. 

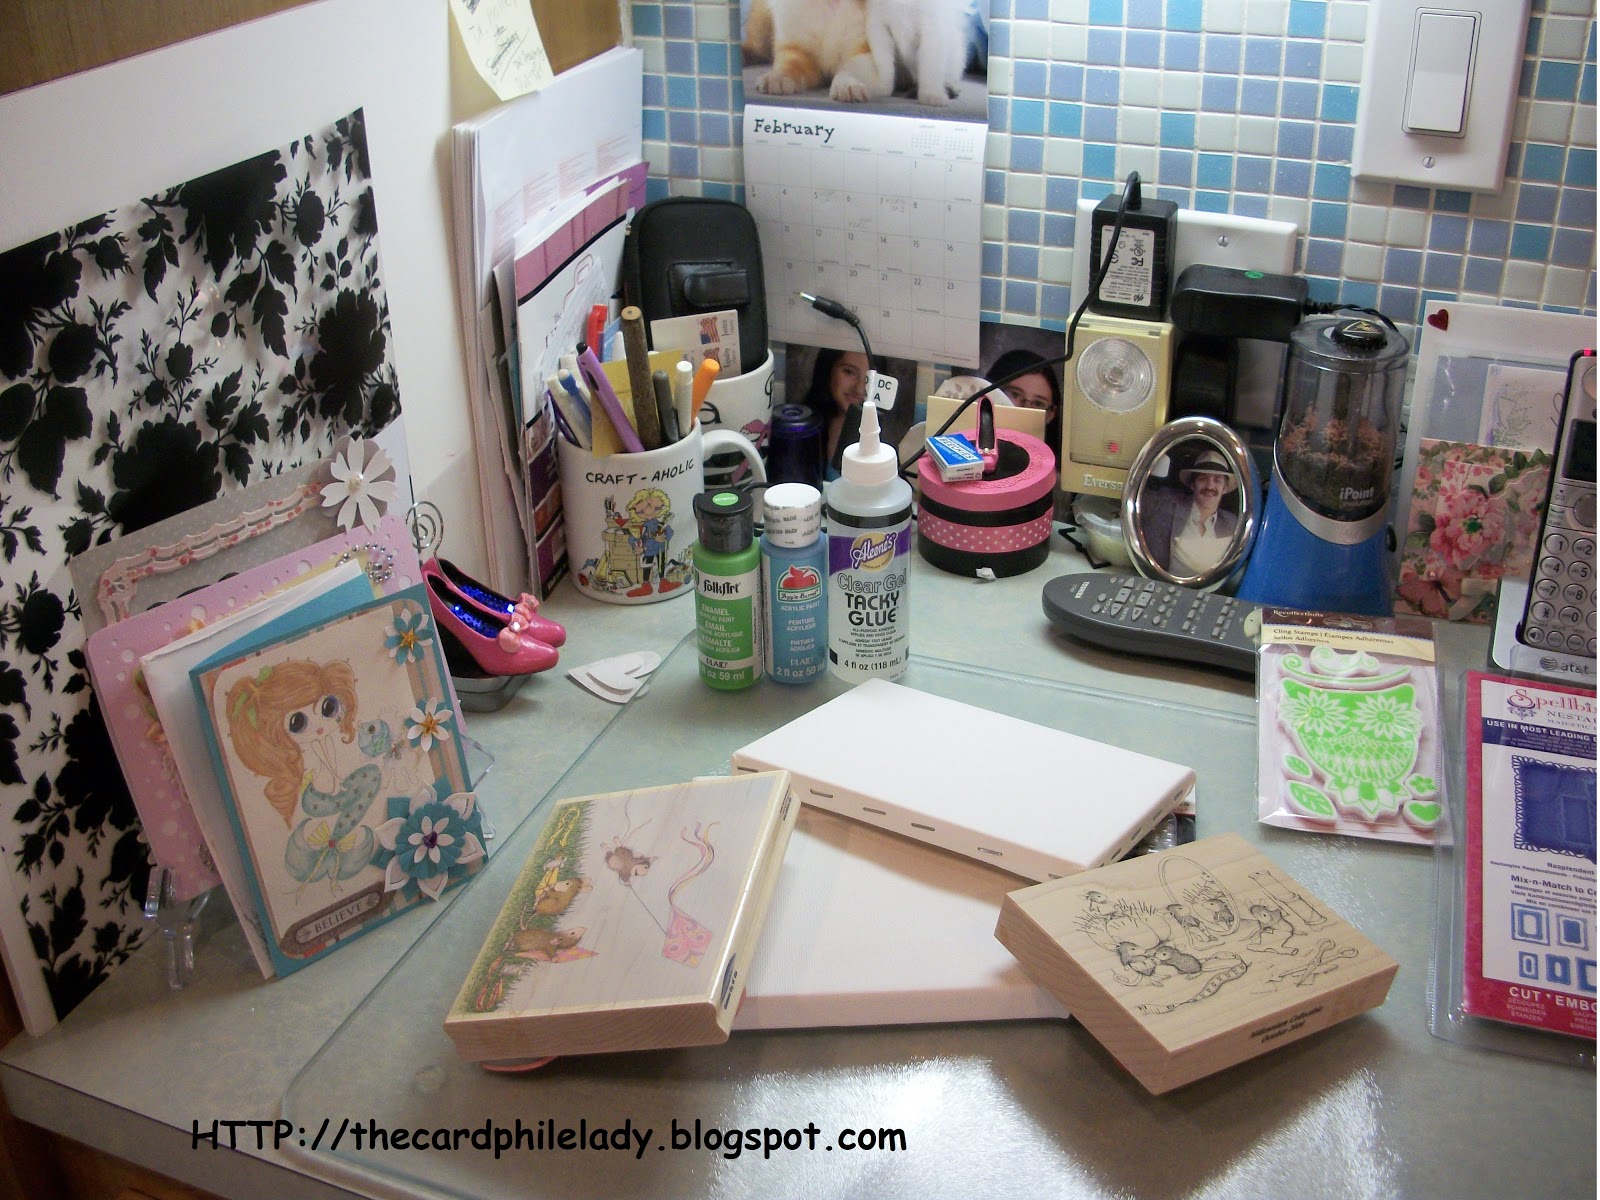
Here is a card I made using one our newest digi images that is not out in the store yet.  It’s from the Orange Bird Studio Category and will coming soon to the Stamping Shack Store.  So your getting a little sneak peak, LOL.

 Now that you know all about digi's, kinda anyway I hope, LOL. Don't be afraid to try them out.  There are tons out there so have fun with them.

This Card is also entered in the following Challenge:

           Tuesday Color Challenge - Outlawz Group

 Enjoy your Sunday and stop back soon to see what other surprises I have in store for everyone to see.

Until next time,
 Happy Crafting

Saturday, February 9, 2013

Valentine for my Valentine

Hello all my blogging crafty friends.  It's a rainy cool day here today so I figured I would get a card made.  I needed a card for my sweetheart for Valentine's Day. 

The card is for my sweet dear hubby.  I found this really pretty die cut at either Micheal's or hobby lobby quiet a while ago for $1, so of course I had to have it. It's by recollections. It was a little bland so I added some embossing ink all over it and sprinkled on some fine glitter and a few clear gem stone bling jewels here and there.  Used Bazzill red and cream colored card stock.  And layered the red on the cream card base I made.  Used my go to adhesive Xyron Tape runner, to add the red to the cream base. Then used Zots glue dots to add the die cut on top of the red paper.  I also added gems stones to the corners of the card front.  On the inside I layered more red then cream paper. I printed my sentiment on the cream before adding it to the red.  I am really liking the outcome, just hope hubby like it too.....(blushing)  so here it is:

Ok so what's the verdict, will he like it?  I am betting he will at least I hope so.  This all I have for you today.  But don't forget to stop back by tomorrow for my DT Blog post for the Stamping Shack.  I think you will like it.

Anyways, have a fun weekend what ever you are doing.  

Until next time,
  Me, The Cardphile Lady

Thursday, February 7, 2013

FYI DT Call for The Stamping Shack

Afternoon everyone, wanted to pop in and send a nice blog welcome to a few new followers.  Thank you for visiting and hope you'll be back soon. 

Also wanted to mention that we are looking for several new DT members to assist in blog posts, challenge inspiration ect... You get free digi's to use on your projects and link to your blog.  To see all the info just pop over and visit us here @ The Stamping Shack.   Good luck to all who decide to try out. :)

That's it for today.  Will be back though with some stuff I've been working on soon....
Have a great evening all.

Until next time,
Bye Ya'll

Monday, February 4, 2013

Valentine for our family friend Bill O

Evening all. First I want to say Hello and welcome to 2 new followers of my blog.  Thanks for stopping by and joining my blog. I hope you are inspired and enjoy visiting often.  I 'm happy you came by.  And now I have a card to share that I made for a Guy friend.  This is for a dear older friend of the family who was my Father in Law's best buddy.  He is a very dear man. I really tried to make this more manly.  I used a Tim Holtz cling stamp, Bazzill basics paper in red and cream, RibbonFX skinny red ribbon, Xyron tape runner, patterned paper from Lost and Found paper pad, Red Ala mode pigment ink from Hampton Art & some black gem stone bling.  After all is said and done, I am very happy.  Hubby even said it was "really cool".  And he's a tough critic, honest but tough, LOL.  Anyways, I like it!  So here it is. 

Well I do believe this card will be well received by our friend Bill.  So that is all I have for you today.  Stop back again soon to see what else I've been working on.....

DRATS computer overheated and crashed before I could add the challenges I am entering this card in.  So here they are:

Created with love - Valentine's theme
One Stop Craft Challenge - Anything goes
Through the Craft room door - Anything goes 
Crafty Blogger Network- Anything goes
Until next time
TTYS (talk to you soon) :)

Friday, February 1, 2013

Love is in the Air - The Stamping Shack Challenge #5

Hello and thanks for coming by today.  It's time again for another challenge at The Stamping Shack Blog.
Today is the start of Challenge #5 - Love is in the Air.  Visit The Stamping Shack Blog for the challenge rules and to see all the inspiration from our wonderful design team.  Please do come by and join in the fun with us.  We really enjoy seeing what creative projects everyone comes up with, they give us inspiration too.   I used the digi "Hippie Goth Girl" (I love this cutie) from the Stamping Shack Store, here, under Goth Kidz section.  Here is my little bit of inspiration for you today.


That's all I have for now.  Thanks for stopping by and all you sweet comments.  Check back soon I'm sure to have more Valentines Day cards up soon.  Have a Fabulous, Fun, Funky Day!

Until next Time,
Keep on Crafting